
Playlists
When you’re teaching our SEL lessons, you’ll find some materials that really resonate with your class! If you’d like to revisit those impactful resources later, we’ve got you covered. No need to search through all our Units and Lessons—you can easily find them whenever you want
With our Playlist feature, revisiting your students' favorite materials is easy and hassle-free—no extra prep required!
Follow the steps below to learn how to make a Playlist!
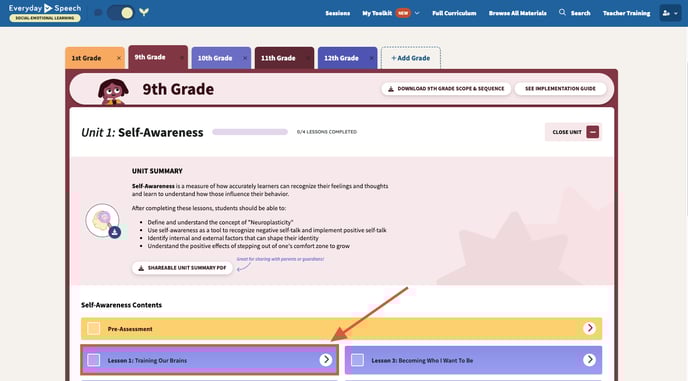
1. Click on the Lesson with the materials you want to save.
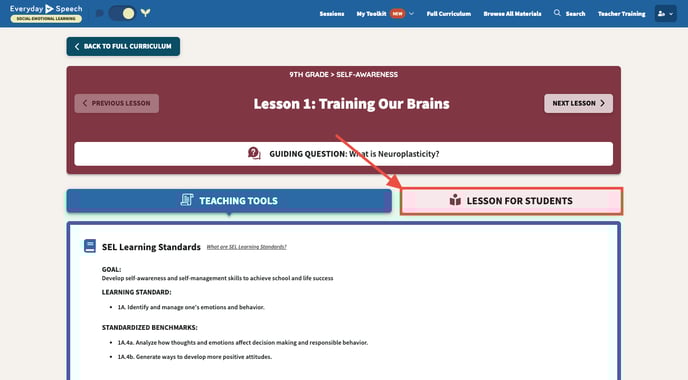
2. Click Lesson for Students.
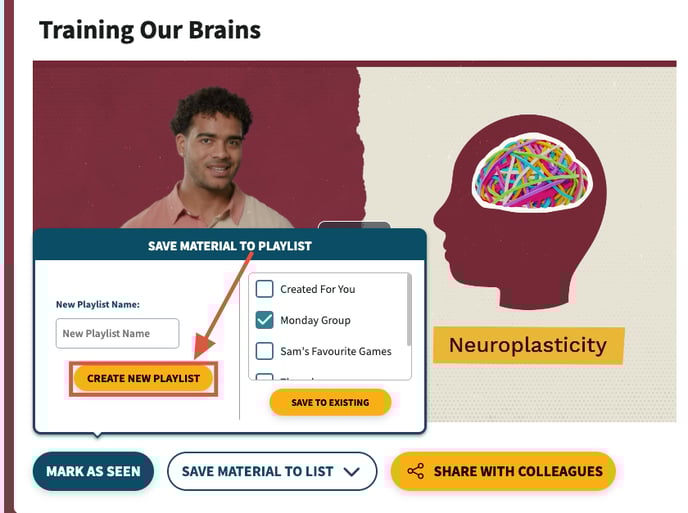
3. Click the material you want to save, then scroll down and press Save Material to List.

4. From here, enter the name for your new Playlist and select Create New List.
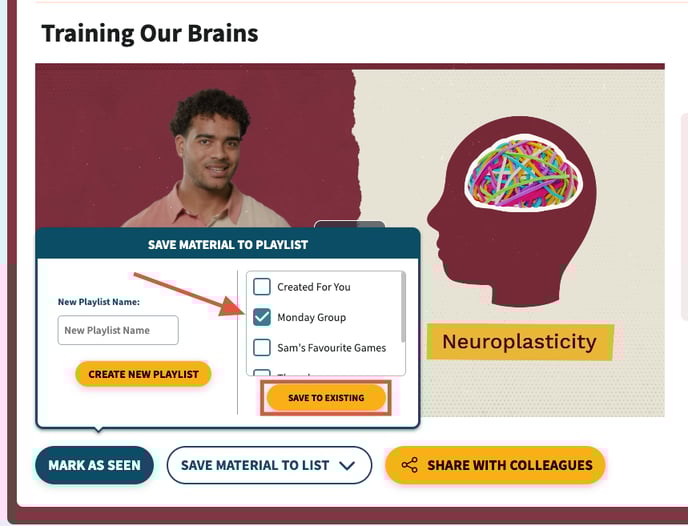
5. To add the material to an existing list, check the box next to the list name and click Save to Existing.
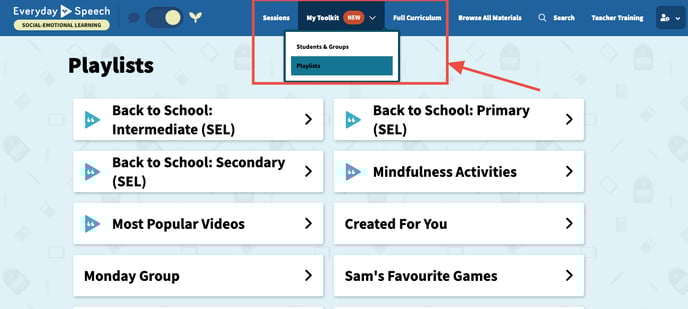
6. To access all of your Playlists, select My Toolkit in the navigation bar. Then select Playlists.
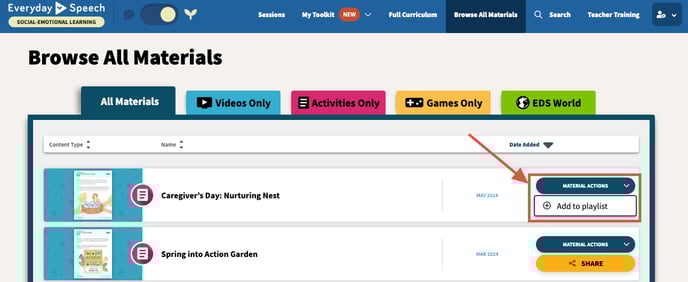
7. Lastly, you can also add materials under Browse All Materials or Search to your Playlist!
As always, please don’t hesitate to reach out to our
Support team for more help!